Sunday, January 13, 2013

Tony's Mexican Fiesta! *Secret Salsa Verde Recipe*


Last night my mom and I went to an amazing cooking class at Nana Clares Kitchen in Valparaiso, IN! Had no idea what I was getting into, but seriously had the BEST time learning new simple tricks & trades of the kitchen, not to mention eating Tony's out of this world Mexican cuisine! SERIOUSLY BEST MEXICAN EVER!!
 
The best part about it is, I have all the recipes and can now make it myself at home!! My favorite recipe was the Salsa Verde...not only was it SO easy, but literally taste so delicious! I will no longer be buying store bought salsa!!
 
Wanted to share a few photos from the night & encourage everyone to check out all of Tony's Upcoming Classes! And feel free to email Tony with questions or catering needs at: cheftony@tonystable.biz!
 
Scroll down to see my favorite recipe from the night!


Salsa Verde Directions:
 
Peel tomatillos and de-stem jalapeños and place both in a pan with water. Bring to a boil, then turn off heat and cover. 
Blend tomatillos with 2 cups of water  (avoid over blending), set aside. Blend jalapeños with 2 cups of water & pour into blended tomatillos!  Add chopped cilantro, onion, & lime juice! Add salt to taste and enjoy!!!
 
Seriously so DELCIOUS!!!
 
HAPPY SUNDAY!

Saturday, January 12, 2013

Rustic Chic Wedding Invitation Inspirations

Tis' the season to order wedding invites! With wedding season quickly approaching I wanted to share some 'rustic chic' inspired wedding invitations that I think are so fab, yet fun!
Typically the correct etiquette in sending out wedding invitations is 6-8 weeks for domestic guest, and 10-12 weeks for international guest.  So make sure to give yourself plenty of time when it comes to ordering!

1:In the park Minted 2: Spirit Feathers Minted 3: Barn Wedding Huntandgatherpaper Etsy 
4: Modern Meets Rustic 2beUdesign Etsy 5:Vintage Ticket Paper Source 6: Love Grows Minted
7:Rustic BStudioinvitations Etsy 8: Indian Rustic ChampagnePress Etsy


Friday, January 11, 2013

FRANK & BEAN FRIDAYS!!

 
FRANK & BEAN FRIDAYS!!!
 
 
Oh man, where do I even start with my boys! Frank & Beans, the loves of my life. I chose these two pictures, because it explains them perfectly...Beans is a bad boy and always in trouble(that's his in trouble face) & Frank is always a good boy, and knows it! They truly are my favorite things, right behind my husband; I have to say that right;)! So in honor of them, every Friday I plan to share one of my favorite things; whether it be a beauty product, recipe, etc....
 
 
Today I want to share one of my favorite accessories right now, not only are they only $13 & make the perfect layering bracelet, but they also go to a great cause!!!  
 
 
At the moment they only sell to boutiques, and we do have them available at Whittaker House, but beware they are highly addictive!!! I think my personal count it up to 14! Yikes!
 
 
Happy Frank & Bean Friday!!!


D.I.Y Hanging Chalkboards by Ali

I swear I have the most creative friends! I love that everyday someone in my life inspires me with their creative'ness (I told you previously, I make up my own words) & talent!! 

went to my friend Ali's house the other night, and she gave me the cutest gift that she made, and I had to share!! I asked her for a list of items she used and a step by step of how she made it, and boy did she give it to me, ha! Her being the elementary teacher she is, she included every single step, and when I say every I mean every!;) I'm going to give you the short version, but feel free to email me for Ali's long really long version! Love you girl!;)

Need: 3 metal trays(dollar store), chalkboard paint, foam brush, 
Ribbon, drill w/small bit

Directions:
Line up trays, and drill a hole in the bottom of your top tray, the top & bottom of your middle one, and in the top of your bottom tray. Make sure all trays are clean.

Paint a coat of paint over the center of all three trays, let dry for 15-30 min and paint a second coat. Paint a third coat if needed!

Cut ribbon aprox. 6 inches long and attach the three trays, tie a loop  at the top with ribbon. Hang & enjoy!!

I really love it, and I had the perfect spot in my craft room for it! Can't wait to use it!!
 Have a creative day! xox

Thursday, January 10, 2013

FAV Fashion Pick of the Week!

I have been so excited with my new blog, that I seem to have lost track of what day it is... yesterday was Wednesday, which is the day that I planned on do a fashion blog on what I was wearing... A day late and dollar short. Oh well, fashion's relevant everyday, right?!;) We will try for the correct day next week! As for now, check out my fav pick of the week!

I'll always try and include brand names, and where I purchased it:)!


Sweater : Autumn Cashmere/ Tank and Leggings:  Tee's By Tina (BEST LINE EVER)
 
Boots: Frye Boot
 
 
See you next Wednesday!! (not Thursday, haha!)


Wednesday, January 9, 2013

DIY Glitter Jar Centerpiece

 
One of the most important parts of a wedding or party is the centerpiece....its the one single thing that your guest are staring at the entire night; besides the gorgeous bride!
 
I have seen a similar idea on a smaller scale, with mason jars, glitter paint, ect; but I decided to use a large pretty jar (which I got a hobby lobby for $2) and this AMAZING Krylon Glitter Blast! Seriously, I will be going and purchasing it in every color; it covers with a complete glitter coat in one spray!! LOVE LOVE LOVE!


Tuesday, January 8, 2013

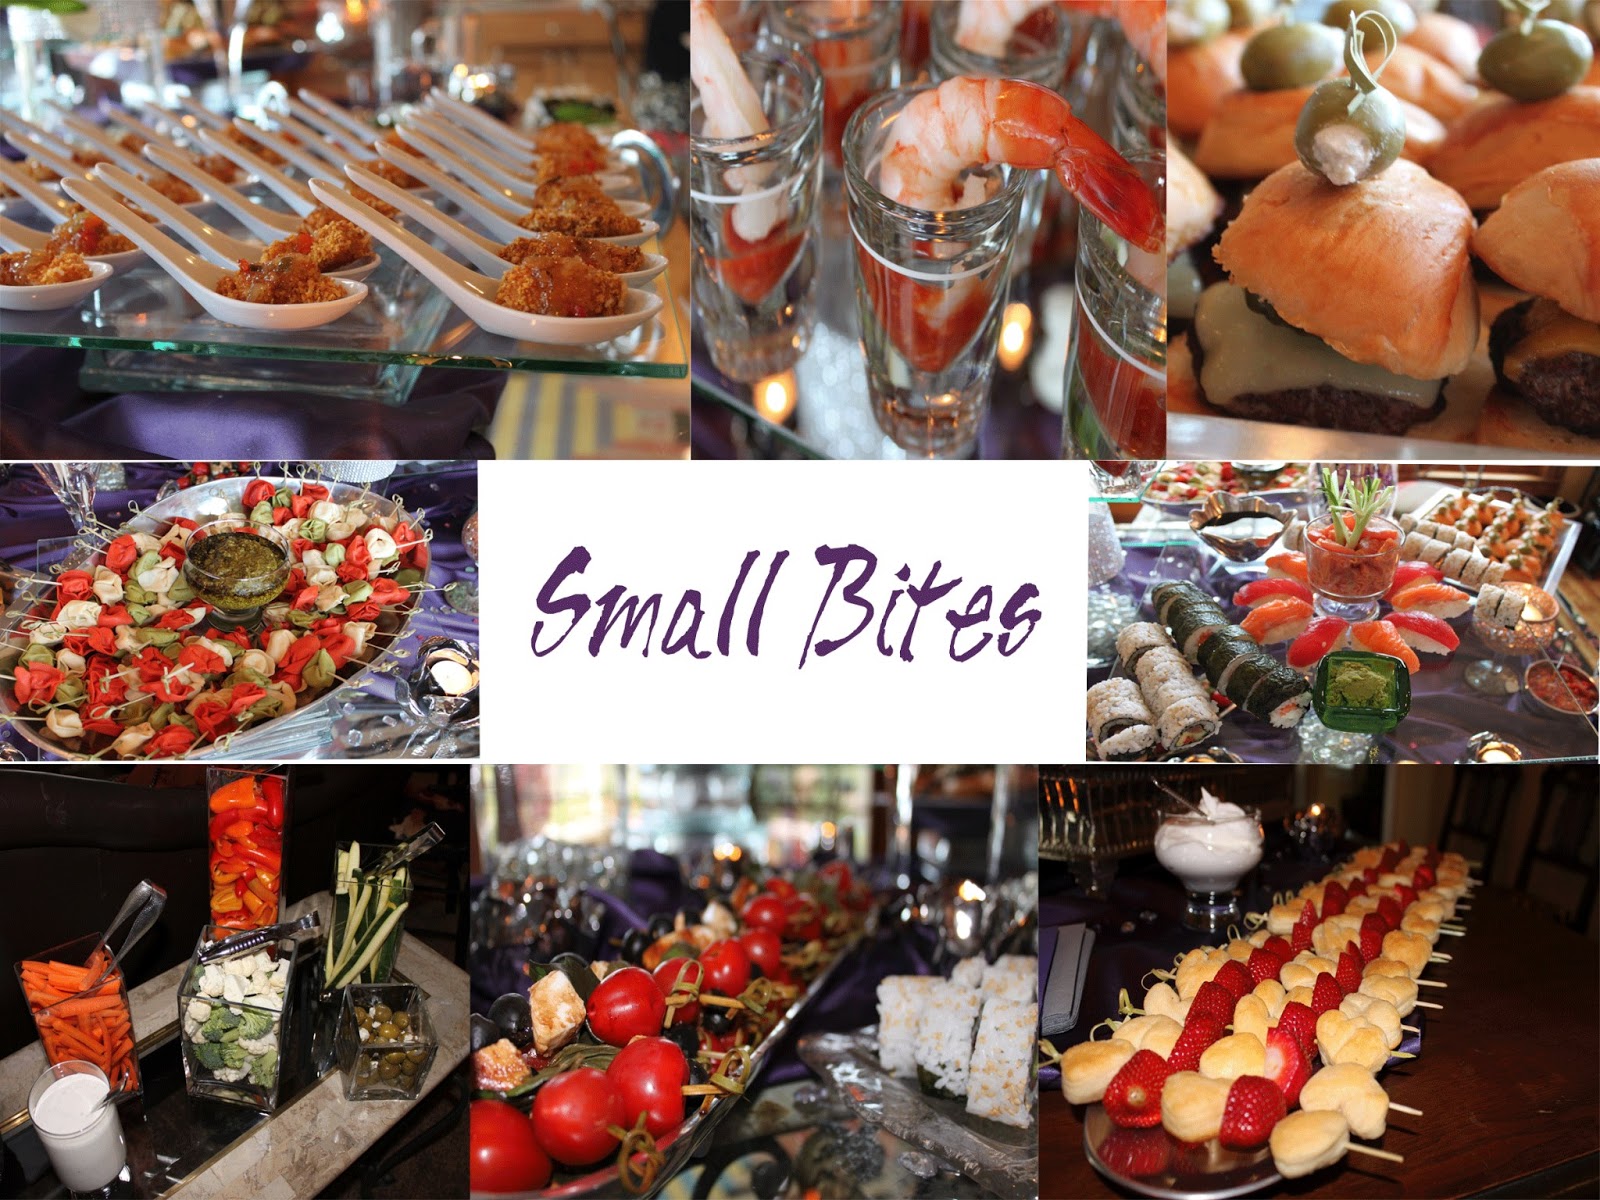
GLAM SHOWER & WEDDING

 
This past year my mom's best friends daughter Lauren(got all that)got married! My mom wanted to throw her the most beautiful glam shower, and wanted my help to do that! My mom is literally the most creative person I know, and when she gets an idea in her head, she stops at nothing to make it happen, she is a little very stubborn in that way!
 (Yikes, you know that moment in life where you realize you have become your mother, yeah, I have had lots of those!)
 
 
We wanted to make sure it was super sparkly, chic, classy, & purple(lots of purple)! I think we nailed it!
 
 
I get so many ideas and inspirations from my mom, so I asked her / made her agree to do a 'Mom Mondays' post every Monday where she will share her own recipes, d.i.y's, decorating tips, & more!! YAY!!!!


 We were asked to do the décor part of Laurens wedding & my mom came up with the amazing centerpieces...she went as far as going to four Targets to find all the lamp shades!! LOVE THEM!!


Pin It button on image hover